 |
| Before and after. |
Shop the look
These are the products I used, but they can be substituted and still give a similar look.Face:Smashbox Photo Finish Primer, Origins Plantscription Anti-aging Foundation in Light Warm, Bourjois Healthy Balance Compact Powder in Beige Clair
Eyes: Urban Decay Eye Primer Potion, Rimmel Exaggerate Waterproof Automatic Eye Definer in Noir, Bare Minerals eyeshadow in Stay Golden (limited edition), Mac Eye Shadow in Sumptuous Olive, Max Factor 2000 Calorie mascara in Black, No.7 Pecise Liquid Eyeliner in Black
Eyebrows: Mac Eye Shadow in Concrete
Cheeks: No. 7 Natural Blush Tint Powder in Soft Damson, Jemma Kidd Dewy All Over Radiance Cream in Rose Gold (discontinued)
Lips: Max Factor Colour Elixir Lip Liner in Red Rush, Max Factor Colour Elixir Giant Pen Stick in Passionate Red
Recreate the look
Step 1
After applying Urban Decay Eye Primer Potion, line the upper lash line with Rimmel black eyeliner, smudging with a fine angled brush to create a flick at the outer corner. Next, adding a wash of Bare Minerals eyeshadow in Stay Golden creates a gorgeous molten effect. Building up the colour in fine layers rather than in one block not only makes the shadow easier to work with, it also helps to improve longevity. Stay Golden was a limited edition shade, but Urban Decay's Maui Wowie will give a similar, albeit more glittery, look.
 |
| Molten gold lids give a contemporary feel to this classic look. |
Step 2
Using a fluffy brush - I used Mac's 217 - apply Mac's Sumptuous Olive eye shadow to the crease and outer third of the eye lid. Blend really well to create a seamless effect and remove any hard edges. Apply a fine line of Sumptuous Olive along the lower lash line using a smudging brush and finish with a couple of coats of mascara. |
| Apply a darker colour to the outer third of the eye. |
Step three
When creating a strong eye look, there can be a lot of eye shadow drop down under the eyes. This does a fine job of emphasising any dark circles, something we obviously want to avoid! So whilst applying eye shadow before your base may seem illogical, it actually makes perfect sense. Often you can simply sweep it away with a clean brush, but I soaked a cotton pad with Bioderma Micelle Solution to ensure every last trace of unwanted shadow was wiped away. |
| Eye shadow drop down emphasies dark circles - remove with cleansing water . |
Step four
After smoothing Smashbox Photo Finish Primer over the skin, I applied Origins Plantscription Foundation with a Bobbi Brown Foundation Brush, starting in the centre of the face and working outwards. This foundation provides great coverage with a healthy, natural looking finish - win win. The colour Light Warm was a perfect match for Anna's skin, which if you've read my piece about The Flawless Miss Lawson, you'll know IMHO, is key. Using the flat side of the brush I patted a little extra foundation around the cheek area to provide more coverage and disguise any redness. A sweeping of powder provides the matt, long lasting finish which any flapper girl needs to ensure she remains shine-free even after charleston-ing the night away.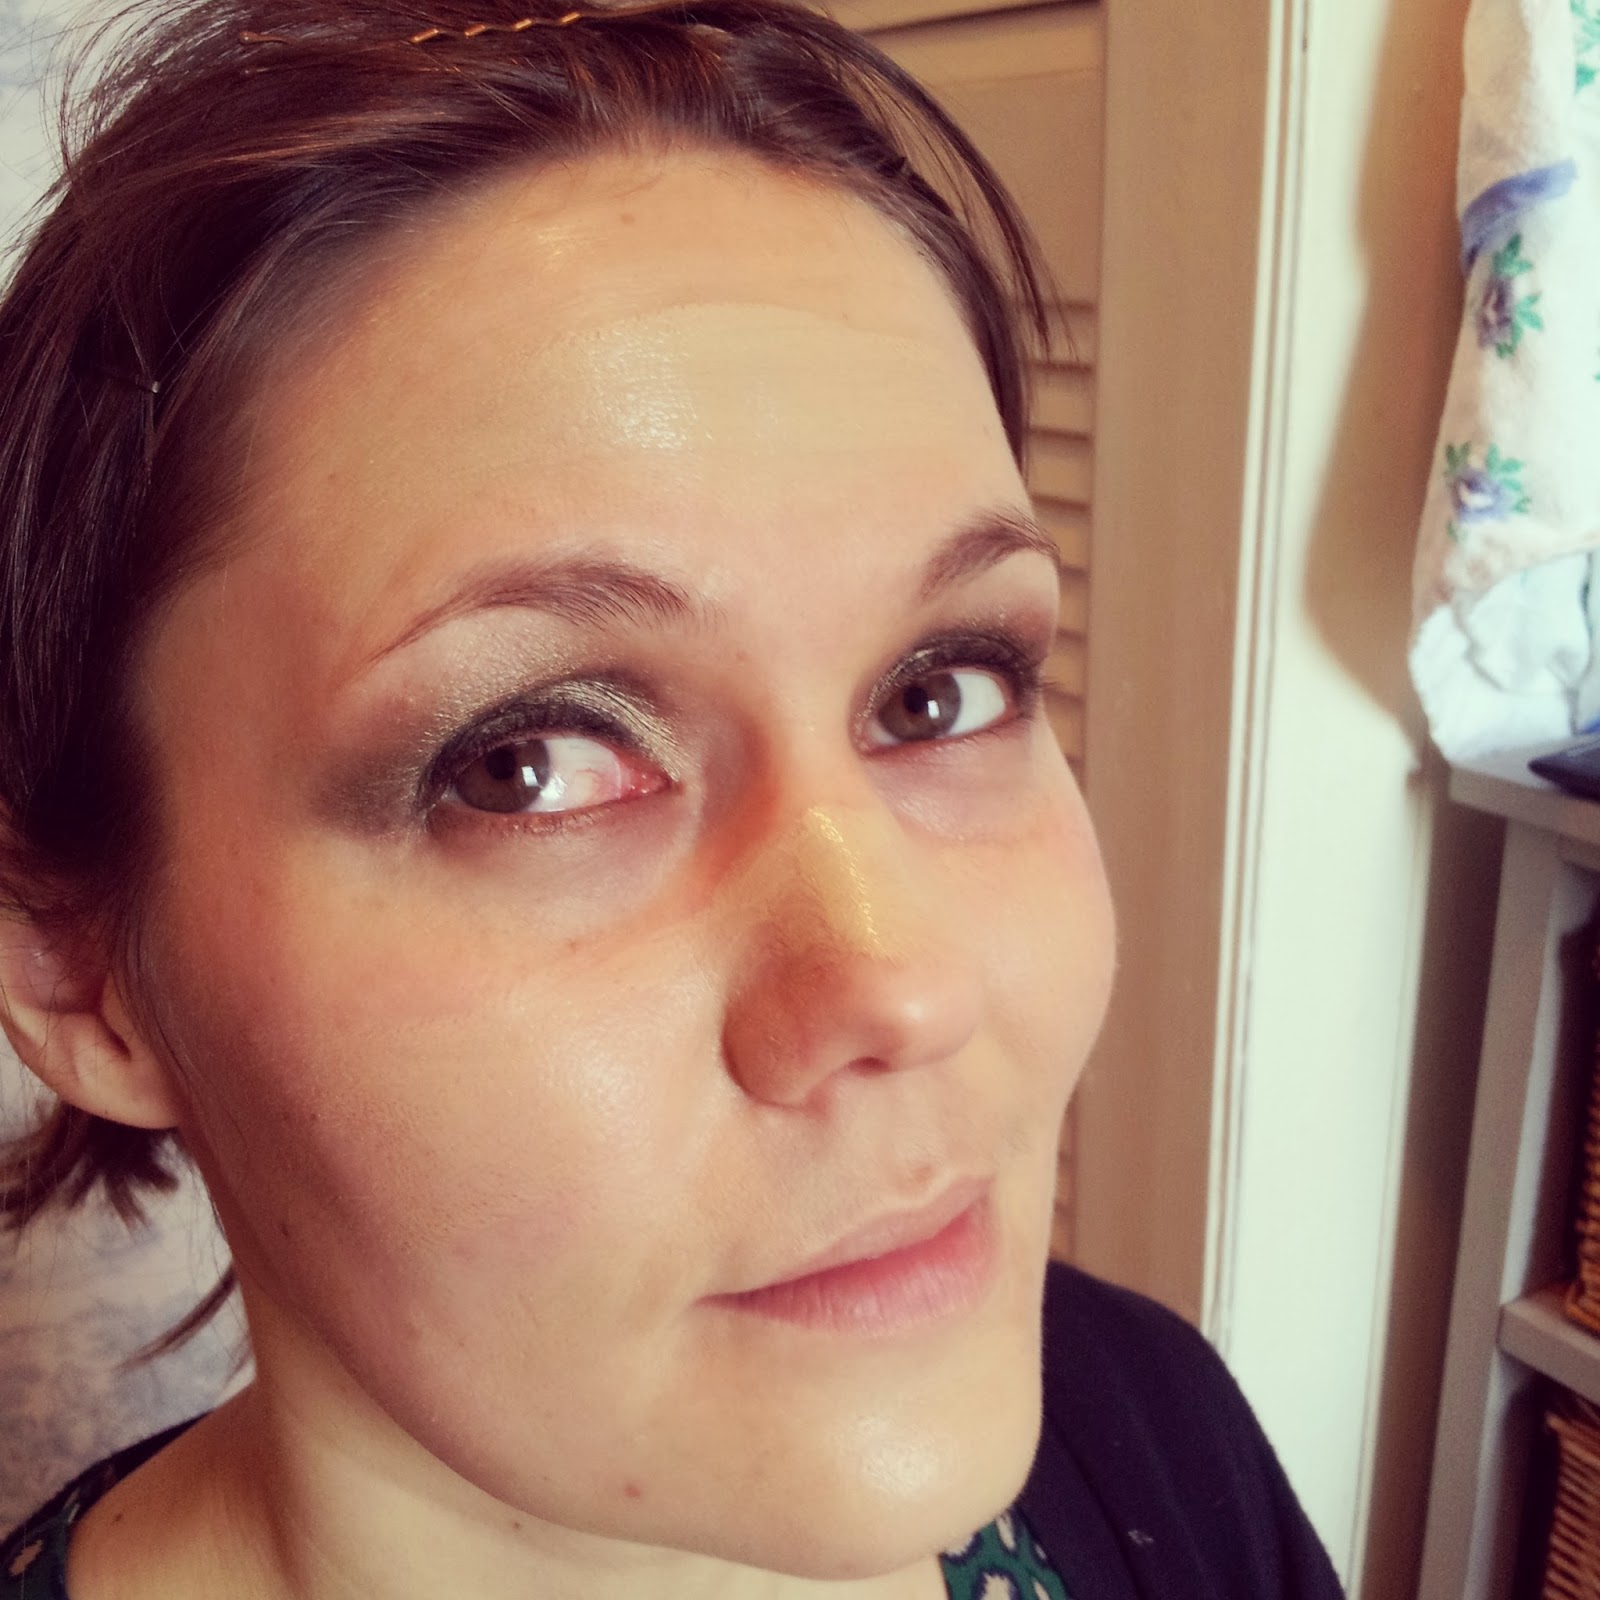 |
| Applying foundation after eye make up create a flawless look. |
Step five
Next up I lined the lips with red liner, emphasising the cupid's bow to create a classic 20s feel. I went for a pink-toned red, with a subtle shimmer, to fill in the lips using the gorgeous Max Factor Giant Pen Stick in Passionate Red. This universally flattering shade is great for women who are taking their first tentative steps into the world of red lips, and the pencil style applicator is a doddle to apply. |
| Emphasise the cupid's bow for a classic 20s look. |
Step six
I like to apply blush last to see how the eyes and lips are working together. All that was needed here was a very light dusting of a rosy toned blush, applied in circular motions to the apples of the cheeks. Gold-toned highlighter along the top of the cheek bones and under the brows ensures the skin catches the light in all the right places. Next up I feathered Mac's Concrete eye shadow through the brows using a fine angled brush. Bringing the line down at the outer corner slightly gives a nod to the 20s without replicating the era's unflattering trend for super thin brows. Lastly, a flick of black liquid eyeliner gives the eyes a final kick of definition.
 |
| Fresh and modern with a 1920s twist. |
The finished look
Here you can see how accessories make all the difference to the finished look. The make up looks pretty and modern in the photo above, but paired with pearls, a hair band, a nude beaded dress and a feather stole, it takes on a vintage feel. The gentle waves were created using the Babyliss Waving Wand, adding a touch of movement to Anna's usually poker-straight locks. Simply gorgeous! |
| Vintage accessories finish off the 1920s look.* |
Love,
Miss Mojito
x
*Photograph by Laura Florence Bainbridge.
Excellent step by step guide! We love this look :-)
ReplyDeletex Roch & Tash x
www.next-route-style.blogspot.co.uk
Thanks guys, really enjoyed creating the look - gotta love a bit of vintage glamour! x
Deletefabulous!
ReplyDeleteThank you! Having such a gorgeous model helps, but I think this look suits everybody x
Delete